ESP8266_APP连接试验
概述
本次试验使用的是ESP8266 NodeMCU
硬件部分
8266固件烧录
固件烧录的是nodemcu官方固件,打开官方提供的ESP8266Flasher,在配置一栏选择nodemcu固件,烧录地址为0x00000。

Arduino IDE 8266版型下载
打开Arduino IDE,在文件-首选项-附加开发板管理器网址中输入:
http://arduino.esp8266.com/stable/package_esp8266com_index.json

然后打开工具-开发板-开发板管理器,在搜索框输入esp8266,在下方弹出的搜索结果中选中要下载的版型,点击安装即可。(下载速度较慢,可挂梯子)

到此为止,硬件部分的准备工作就完成了,接下来就可以使用Arduino IDE进行ESP8266的编程。
安装MQTT库
因本程序设计MQTT部分,因此还需要安装MQTT库才能正常编译程序,打开项目-加载库-管理库,有许多mqtt库可以选择,我使用的是PubSubClient。

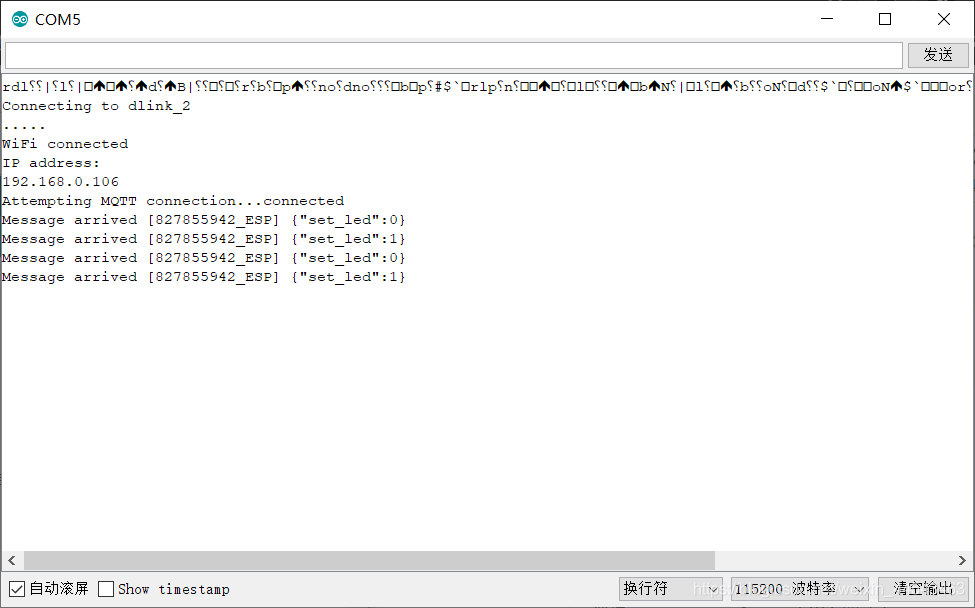
ESP8266程序设计
代码不长,贴在下方
1 | #include <ESP8266WiFi.h> |
APP部分
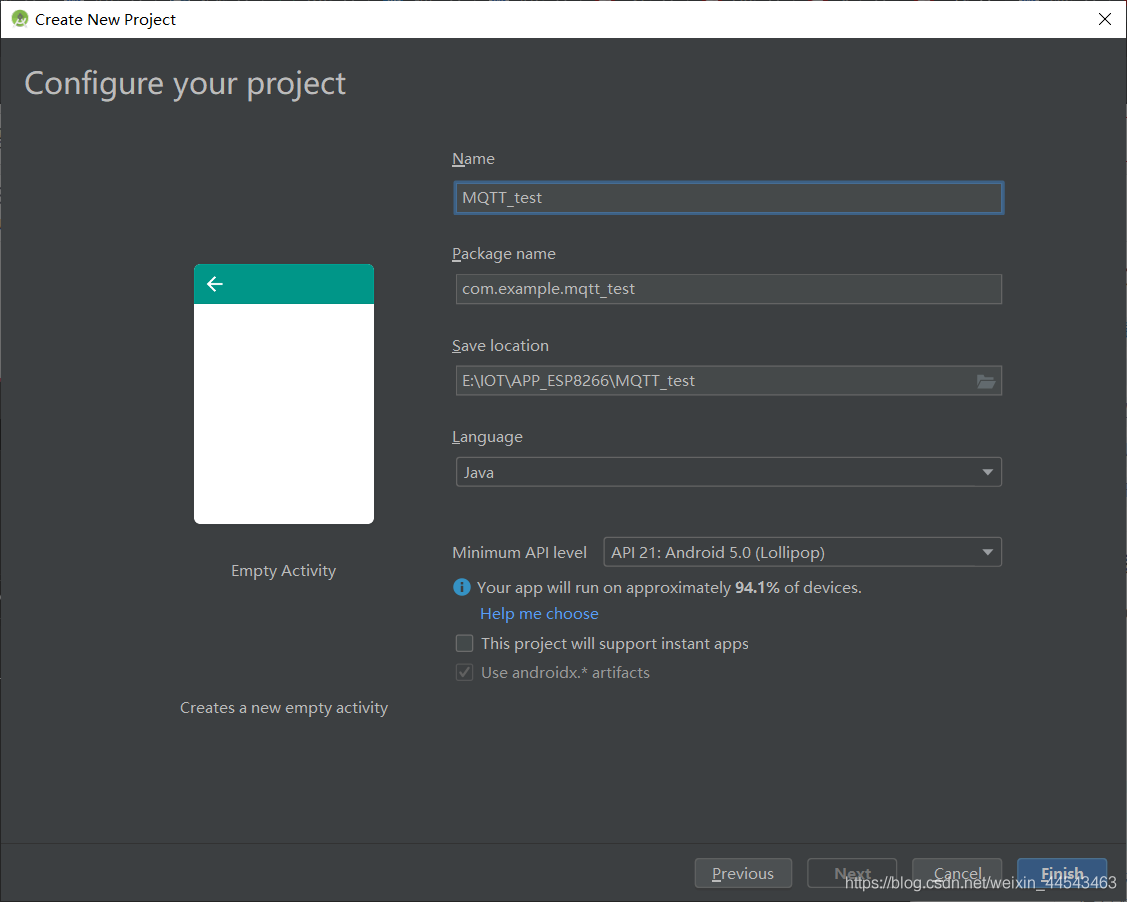
创建项目
Start a new Android project,我选择Empty Activity,name随意,language java,Android版本要小于等于手机安卓版本。(尽量用真机调试,虚拟机bug太多)
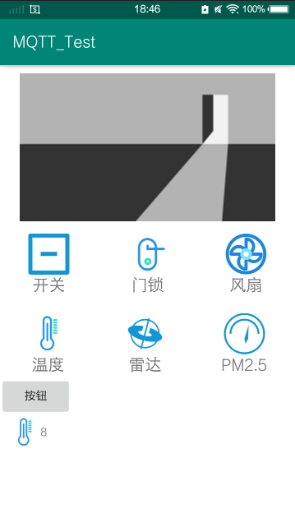
UI设计
打开app-res-layout下的activity_main.xml文件,设计UI
常用的代码列下
1
2
3
4
5
6
7android:orientation="vertical" //设置线性布局方向
android:background="#FFFFFF" //设置背景色
android:src="@drawable/pic" //ImageView下添加图片
android:layout_margin="10dp" //设置距离父空间边缘距离
android:id="@+id/image_1 //设置id
android:layout_weight="1" //布局内设置权重
android:gravity="center_vertical" //布局内设置垂直居中
主程序设计
打开MainActivity.java编写程序
1. OnCreate函数是程序打开后最先运行的地方
4. 移植Mqtt_init()函数
5. 移植startReconnect()函数
6. 移植publishmessageplus()函数
7. 在OnCreate中加入
1
2
3
Mqtt_init();
startReconnect();
handler = new Handler() {
注:每完成一小步都要刷入真机调试,以免调bug之痛
2. 按钮单击事件
1
2
3
4
5
6
7
8
9
button_1 = findViewById(R.id.button_1); //寻找XML里面真正的ID,与自己初始化的变量绑定
button_1.setOnClickListener(new View.OnClickListener() {
public void onClick(View v) {
//这里是单击之后执行的地方
//在当前ativity 显示内容为hello的短时间弹窗
Toast.makeText(MainActivity.this,"hello",Toast.LENGTH_SHORT).show();
}
});
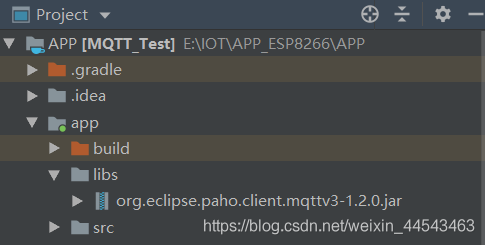
3. 导入JAR包
将mqtt的JAR包复制到app下的libs文件夹中
右键JAR包Add as Lib确定
以上就完成了基本的app与ESP8266的通信。
感谢正哥,B站up阿正啷个哩个啷,大佬的教程
 微信支付
微信支付 支付宝
支付宝